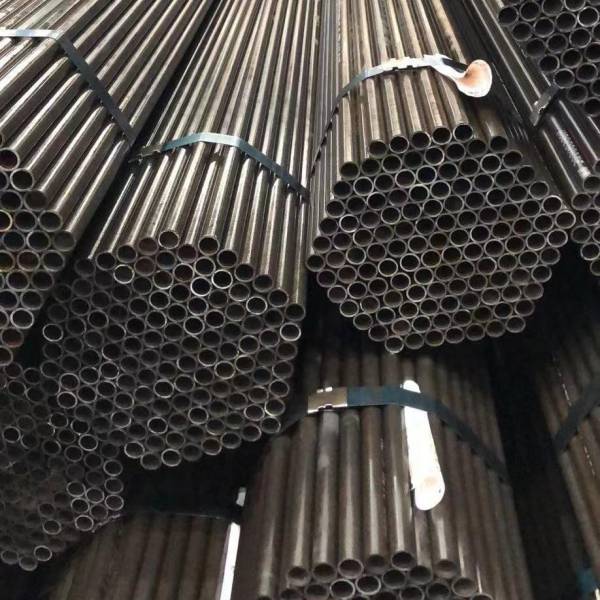
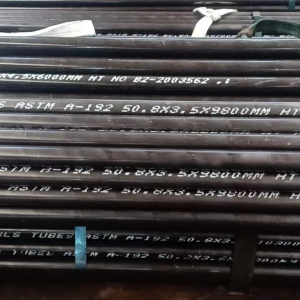
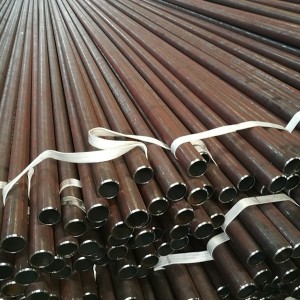
18 Years Factory China Pressure Boiler Cylinder Oil Gas Structure Alloy GB Seamless Steel Pipes
The customer satisfaction is our primary target. We uphold a consistent level of professionalism, quality, credibility and service for 18 Years Factory China Pressure Boiler Cylinder Oil Gas Structure Alloy GB Seamless Steel Pipes, The team of our firm together with the use of cutting-edge technologies delivers impeccable quality merchandise supremely adored and appreciated by our prospects around the world.
The customer satisfaction is our primary target. We uphold a consistent level of professionalism, quality, credibility and service for China Heavy Wall Thickness Semaless Steel Pipe, Steel Pipe, When you are keen on any of our objects following you view our product list, please feel free to make contact with us for inquiries. You’ll be able to send us emails and get in touch with us for consultation and we shall respond to you as soon as we have been able to. If it’s convenient, you could find out our address in our web site and come to our enterprise. or additional information of our products by yourself. We’re generally ready to build lengthy and steady co-operation relations with any possible shoppers within the associated fields.
Overview
Application
It is mainly used to make high-quality alloy steel pipe for high pressure boiler pipe, heat exchanger pipe and super heat pipe
Main Grade
Grade of high-quality Alloy steel: T2,T12,T11,T22, T91, T92 etc.
Chemical Component
| Steel Grade | Chemical Composition% | ||||||||||
| C | Si | Mn | P, S Max | Cr | Mo | Ni Max | V | Al Max | W | B | |
| T2 | 0.10~0.20 | 0.10~0.30 | 0.30~0.61 | 0.025 | 0.50~0.81 | 0.44~0.65 | – | – | – | – | – |
| T11 | 0.05~0.15 | 0.50~1.00 | 0.30~0.60 | 0.025 | 1.00~1.50 | 0.44~0.65 | – | – | – | – | – |
| T12 | 0.05~0.15 | Max 0.5 | 0.30~0.61 | 0.025 | 0.80~1.25 | 0.44~0.65 | – | – | – | – | – |
| T22 | 0.05~0.15 | Max 0.5 | 0.30~0.60 | 0.025 | 1.90~2.60 | 0.87~1.13 | – | – | – | – | – |
| T91 | 0.07~0.14 | 0.20~0.50 | 0.30~0.60 | 0.02 | 8.0~9.5 | 0.85~1.05 | 0.4 | 0.18~0.25 | 0.015 | – | – |
| T92 | 0.07~0.13 | Max 0.5 | 0.30~0.60 | 0.02 | 8.5~9.5 | 0.30~0.60 | 0.4 | 0.15~0.25 | 0.015 | 1.50~2.00 | 0.001~0.006 |
For T91 other than above also includes Nickel 0.4, Va 0.18-0.25, Ni 0.06-0.10, Ni 0.03-0.07, Al 0.02, Ti 0.01, Zr 0.01. A Maximum, unless range or minimum is indicated. Where ellipses (…) appear in this table, there is no requirement, and analysis for the element need not be determined or reported. B It is permissible to order T2 and T12 with a sulfur content of 0.045 max. C Alternatively, in lieu of this ratio minimum, the material shall have a minimum hardness of 275 HV in the hardened condition, defined as after austenitizing and cooling to room temperature but prior to tempering. Hardness testing shall be performed at mid-thickness of the product. Hardness test frequency shall be two samples of product per heat treatment lot and the hardness testing results shall be reported on the material test report.
Mechanical Property
| Steel Grade | Mechanical Properties | |||
| T. S | Y. P | Elongation | Hardness | |
| T2 | ≥ 415MPa | ≥ 205MPa | ≥ 30% | 163HBW(85HRB) |
| T11 | ≥ 415MPa | ≥ 205MPa | ≥ 30% | 163HBW(85HRB) |
| T12 | ≥ 415MPa | ≥ 220MPa | ≥ 30% | 163HBW(85HRB) |
| T22 | ≥ 415MPa | ≥ 205MPa | ≥ 30% | 163HBW(85HRB) |
| T91 | ≥ 585MPa | ≥ 415MPa | ≥ 20% | 250HBW(25HRB) |
| T92 | ≥ 620MPa | ≥ 440MPa | ≥ 20% | 250HBW(25HRB) |
Tolerance
Permitted Variations in Wall thickness
| Wallthickess % | |||||
| outside diameter in. mm |
0.095 2.4 and under |
over0.095 to 0.15 2.4-3.8 incl. |
over 0.15 to 0.18 3.8-4.6 incl |
over 0.18 to 4.6 |
|
| over under over under over under over under | |||||
| seamless, hot finished | |||||
| 4inch and under 40 0 35 0 33 0 28 0 | |||||
| over 4 inch .. .. 35 0 33 0 28 0 | |||||
| seamless, cold finished | |||||
| over under | |||||
| 11/2 and under | 20 0 | ||||
| over 11/2 | 22 0 | ||||
The permitted variations in wall thickness apply only to tube , except internal-upset tubes, as rolled or cold finished
and before swaging,expanding ,bending,polishing,or other fabricating operations
Permitted Variations in Outside Diameter
| outside diameter (mm) | Pemitted Variation( mm) | |
| hot finished seamless tube | over | under |
| 4″ (100mm)and under | 0.4 | 0.8 |
| 4-71/2″(100-200mm) | 0.4 | 1.2 |
| 71/2-9“(200-225) | 0.4 | 1.6 |
| Welded tubes and cold finished seamless tubes | ||
| under1″(25mm) | 0.1 | 0.11 |
| 1-11/2″(25-40mm) | 0.15 | 0.15 |
| 11/2-2″(40-50mm) | 0.2 | 0.2 |
| 2-21/2″(50-65mm) | 0.25 | 0.25 |
| 21/2-3″(65-75mm) | 0.3 | 0.3 |
| 3-4″(75-100mm) | 0.38 | 0.38 |
| 4-71/2″(100-200mm) | 0.38 | 0.64 |
| 71/2-9“(200-225) | 0.38 | 1.14 |
Test Requirement
Hydraustatic Test:
The Steel Pipe Should Be Tested Hydraulically One By One. The Maximum Test Pressure Is 20 MPa. Under The Test Pressure, The Stabilization Time Should Be Not Less Than 10 S, And The Steel Pipe Should Not Leak. Or The Hydraulic Test Can Be Replaced By Eddy Current Testing Or Magnetic Flux Leakage Testing.
Nondestructive Test:
Pipes That Require More Inspection Should Be Ultrasonically Inspected One By One. After The Negotiation Requires The Consent Of The Party And Is Specified In The Contract, Other Non-Destructive Testing Can Be Added.
Flattening Test:
Tubes With An Outer Diameter Greater Than 22 Mm Shall Be Subjected To A Flattening Test. No Visible Delamination, White Spots, Or Impurities Should Occur During The Entire Experiment.
Hardness Test:
For Pipe Of Grades P91, P92, P122, And P911, Brinell, Vickers, Or Rockwell Hardness Tests Shall Be Made On A Specimen From Each Lot


