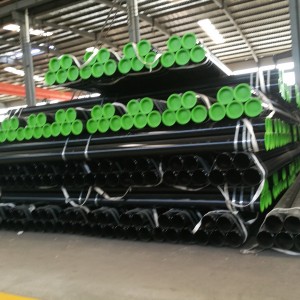
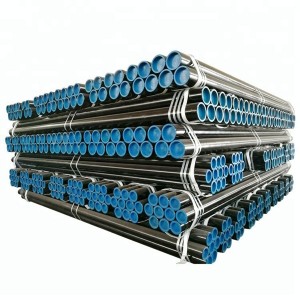
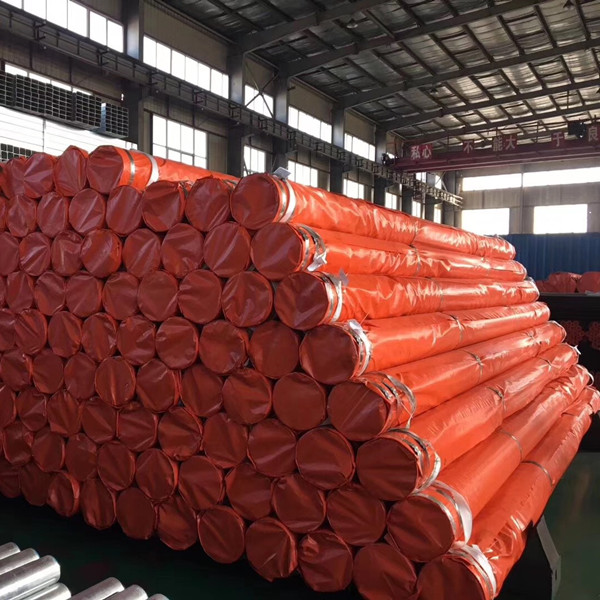
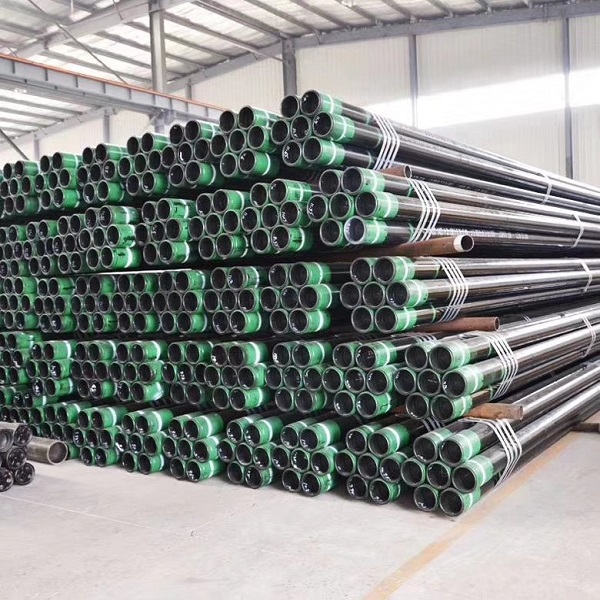
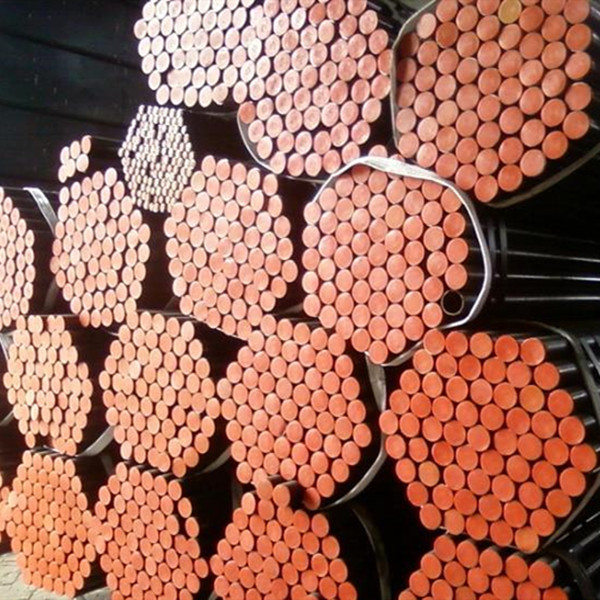
ASTM A210
| Standard: ASTM SA210 | Alloy Or Not: Carbon steel |
| Grade Group: GrA. GrC | Application: Boiler Pipe |
| Thickness: 1 - 100 mm | Surface Treatment: As customer's requirement |
| Outer Diameter(Round): 10 - 1000 mm | Technique: Hot Rolled/Cold Drawn |
| Length: Fixed length or random length | Heat treatment: Annealing/normalizing |
| Section Shape: Round | Special Pipe: Thick Wall Pipe |
| Place of Origin: China | Usage: Boiler and Heat Exchanger |
| Certification: ISO9001:2008 | Test: ET/UT |
It is mainly used to make high-quality seamless carbon steel, for boiler pipes, super heat pipes
for bolier industry , heat changer pipe etc. With difference sizes and thickness
Grade of high-quality carbon boiler steel: GrA, GrC
| Element | Grade A | Grade C |
| C | ≤0.27 | ≤0.35 |
| Mn | ≤0.93 | 0.29-1.06 |
| P | ≤0.035 | ≤0.035 |
| S | ≤0.035 | ≤0.035 |
| Si | ≥ 0.1 | ≥ 0.1 |
A For each reduction of 0.01 % below the specified carbon maximum, an increase of 0.06 % manganese above the specified maximum will be permitted up to a maximum of 1.35 %.
| Grade A | Grade C | |
| Tensile Strength | ≥ 415 | ≥ 485 |
| Yield Strength | ≥ 255 | ≥ 275 |
| Elongation rate | ≥ 30 | ≥ 30 |
Hydraustatic Test:
The Steel Pipe Should Be Tested Hydraulically One By One. The Maximum Test Pressure Is 20 MPa. Under The Test Pressure, The Stabilization Time Should Be Not Less Than 10 S, And The Steel Pipe Should Not Leak.
After The User Agrees, The Hydraulic Test Can Be Replaced By Eddy Current Testing Or Magnetic Flux Leakage Testing.
Flattening Test:
Tubes With An Outer Diameter Greater Than 22 Mm Shall Be Subjected To A Flattening Test. No Visible Delamination, White Spots, Or Impurities Should Occur During The Entire Experiment.
Flaring Test:
According To The Requirements Of The Purchaser And Stated In The Contract, The Steel Pipe With Outer Diameter ≤76mm And Wall Thickness ≤8mm Can Be Done Flaring Test . The Experiment Was Performed At Room Temperature With A Taper Of 60 °. After The Flaring, The Flaring Rate Of The Outer Diameter Should Meet The Requirements Of The Following Table, And The Test Material Must Not Show Cracks Or Rips
Hardness Test:
Brinell or Rockwell hardness tests shall be made on specimens from two tubes from each lot


